


Installing a sink yourself requires care, but it helps ensure that the washing area is fully watertight and that the kitchen units last longer. A correctly completed installation protects the worktop from the damaging effects of water, prevents mould growth and keeps the entire unit stable. This step-by-step guide explains how to cut a suitable opening safely, protect the exposed wood effectively, and secure the bowl and waste pipes permanently, without complicated technical jargon.
Choosing the right sink
Matching the sink model to the thickness and material of the worktop determines the correct installation method. The most popular Inset sinks have a special rim that rests freely on the edges of the opening, making them well suited to standard laminate worktops. Undermount sinks, on the other hand, require a completely waterproof substrate such as solid stone, composite or sintered stone, because the edge of the worktop is constantly exposed to direct contact with running water.
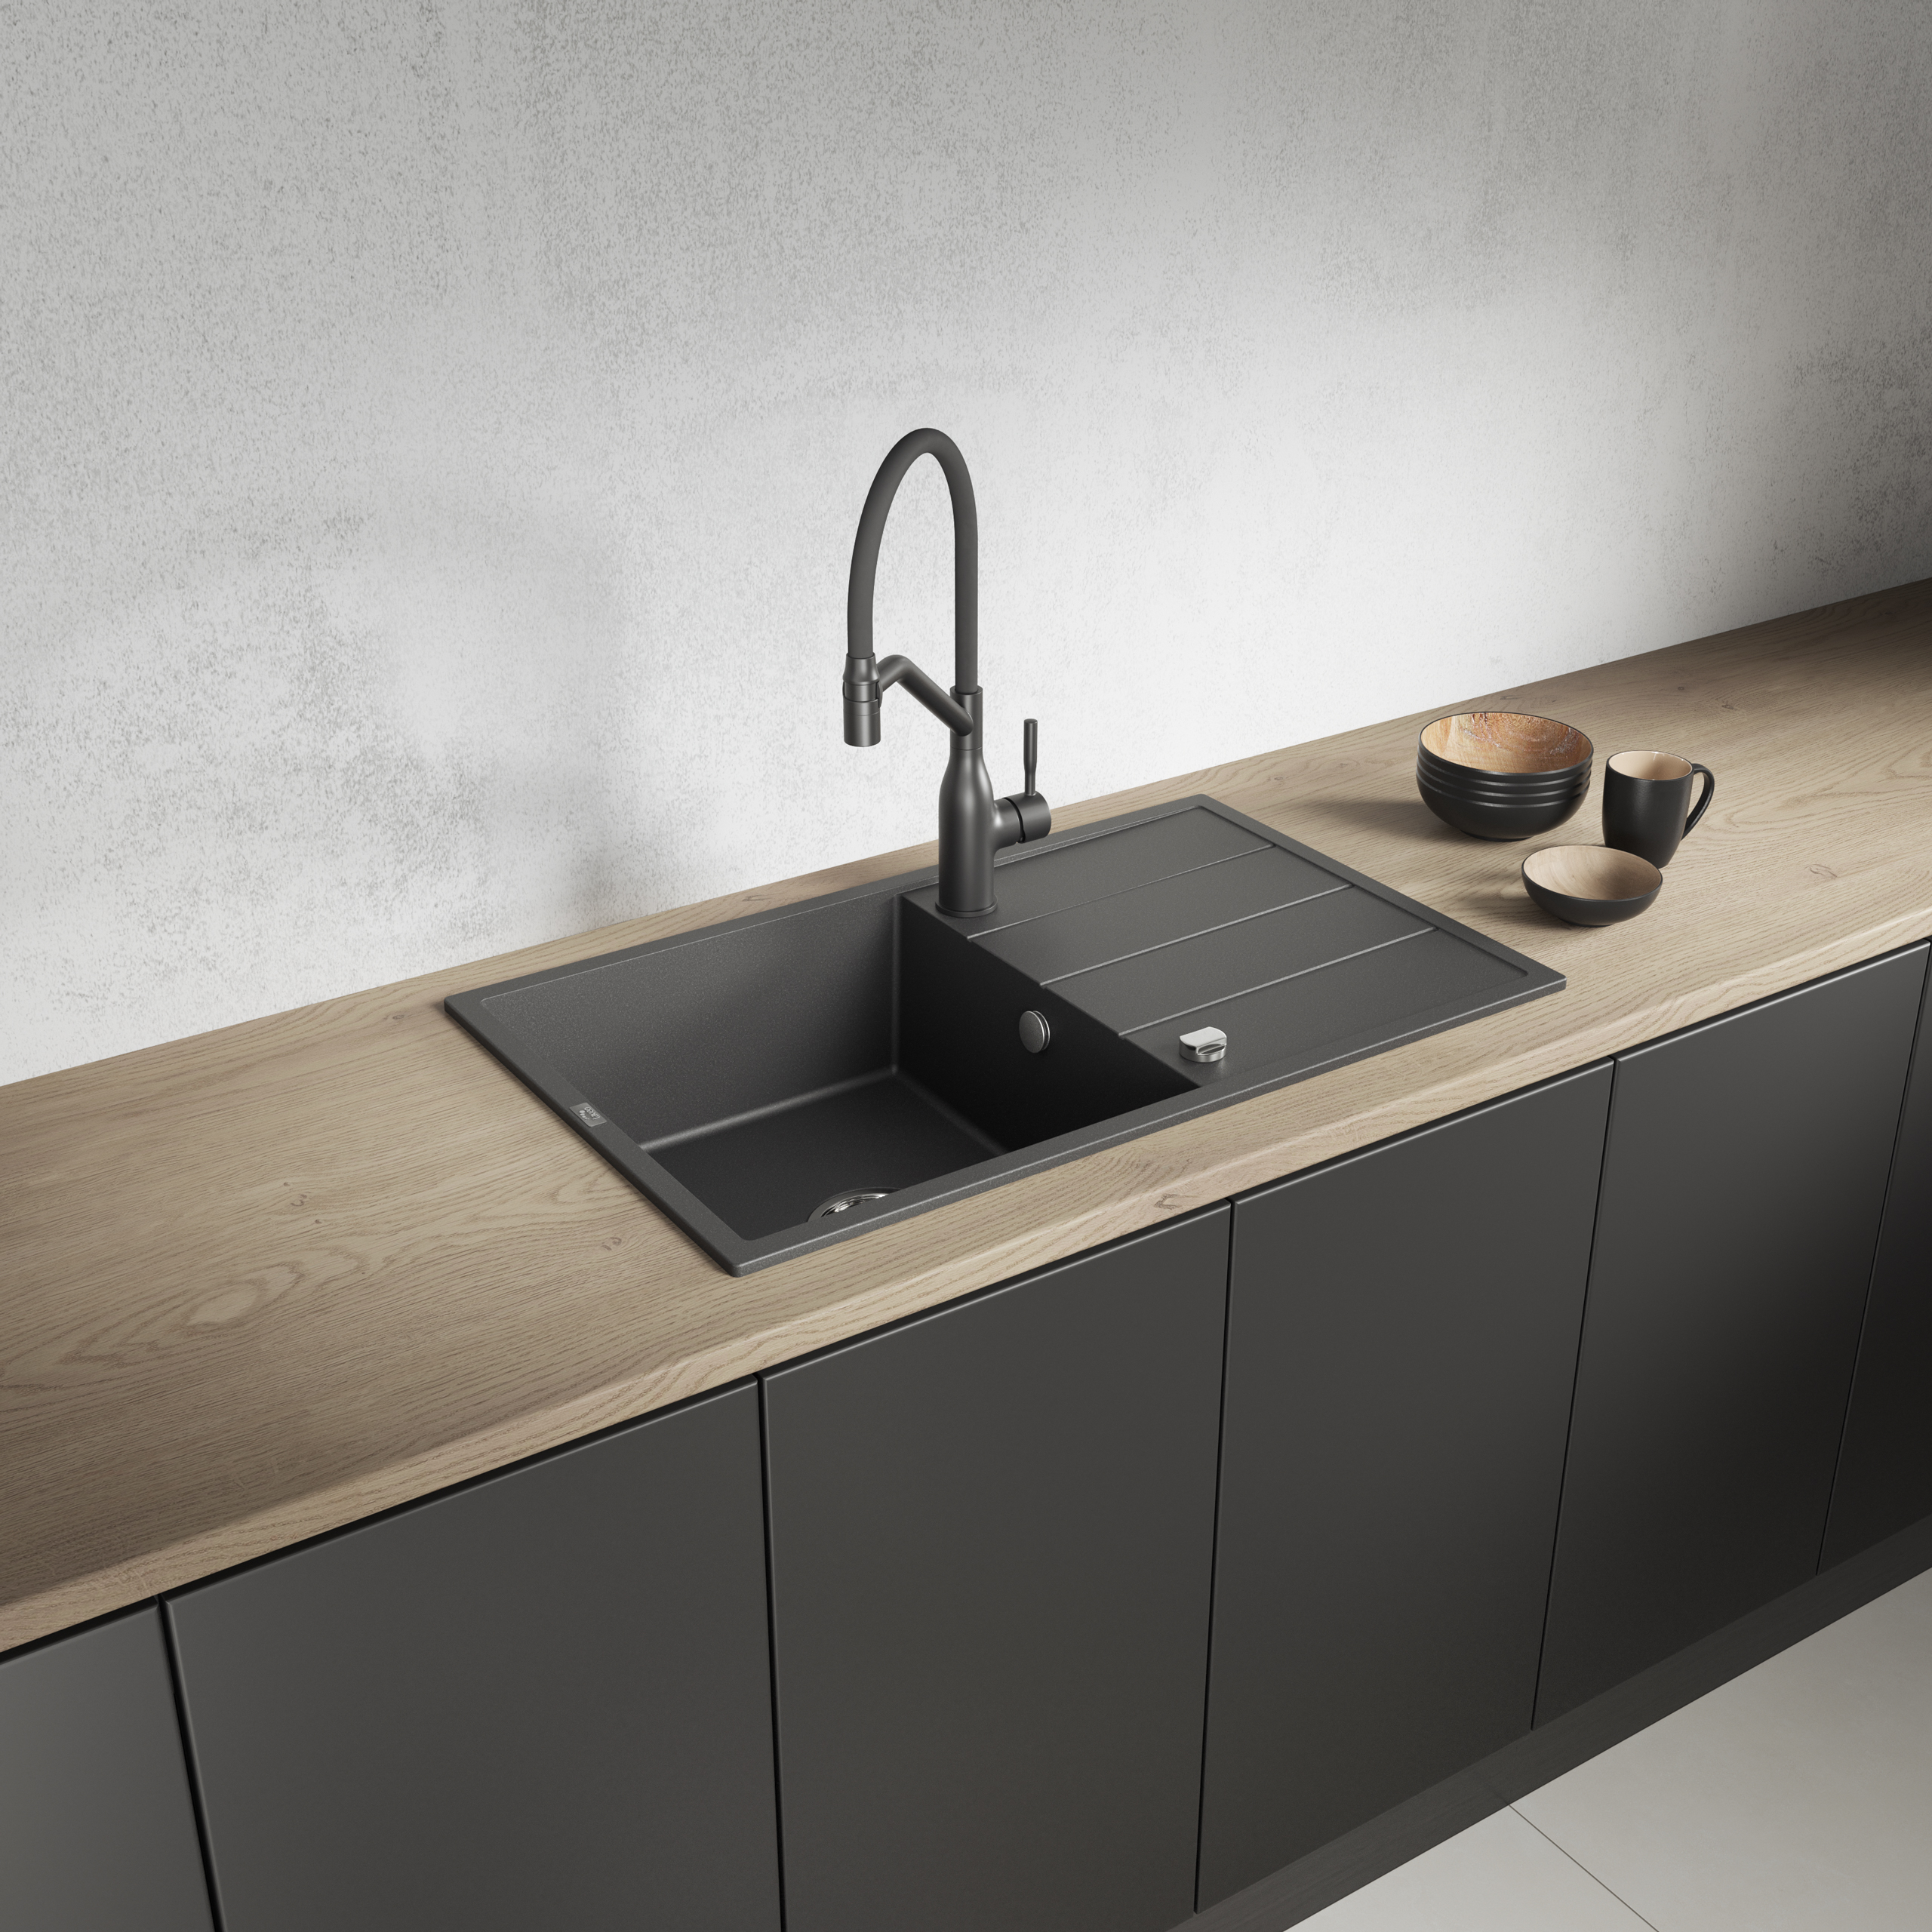
The weight of the selected product determines the support strength and type of fixings required inside the cabinet. The individual materials differ considerably in this respect:
- Stainless steel models: They weigh only a few kilograms, which makes them very easy to handle during installation. Simple, slim tension clips supplied by the manufacturer are sufficient to stabilise them fully.
- Composite sinks: Modern granite sinks, valued for their exceptional durability and fashionable industrial design, can weigh more than ten kilograms. This weight requires a perfectly level, rigid support surface to prevent the material from cracking.
- Ceramic models: The heaviest designs, often weighing more than 20 kilograms, require additional wooden or metal frames inside the cabinet to relieve the load on the worktop effectively.
The material also affects everyday washing comfort and resistance to accidental impacts from pots. Steel absorbs impacts from dropped dishes very well, while hard granite offers complete resistance to deep scratches and discolouration. When choosing a particular solution, always make sure that the width of the cabinet beneath the sink allows the entire bowl to be inserted freely.

Preparing the worktop for installation
To mark the cutting line correctly, trace around the upside-down sink and then reduce the outline by the width of the mounting rim. If the opening is too large, the product may simply fall into the cabinet under the weight of the water, leaving the entire structure without support. Measuring an even margin inside the outline, usually around 8-10 millimetres, creates a secure frame on which the factory seal or applied silicone layer can rest firmly.
At home, the best way to cut the opening is with a jigsaw fitted with a wood blade. Start by drilling a small hole inside the outline so that the blade can be inserted smoothly. Guide the tool slowly without forcing it. This prevents unsightly chipping of the laminate surface and helps maintain a straight, smooth edge.
Protecting the exposed cut edge of the worktop from water is the most important step in preventing damage to kitchen furniture. Apply a generous layer of clear sanitary silicone or a specialist waterproof wood adhesive to the exposed chipboard, working the product into the surface with a spatula. If this step is omitted, accidentally spilled water can penetrate the board, causing it to swell immediately and irreversibly damaging the work surface.
Installing the sink
Applying an even layer of sealant along the cut-out creates a barrier that prevents moisture from flowing directly beneath the sink. Apply the product with a sealant gun directly to the prepared worktop or into the special recess on the underside of the sink. Once the bowl has been positioned correctly, its own weight presses down on the seal and forces out any excess compound. Remove it immediately with a damp cloth or a finger dipped in soapy water.
The metal clips included in the set secure the sink by gripping the edge of the worktop from below. Tighten the clip screws alternately and diagonally with a standard manual screwdriver. Avoiding electric screwdrivers protects the clip from damage, prevents stripped threads and reduces the risk of bending the sink frame through excessive force.
The arrangement and operation of the fixing clips depend on the thickness of the kitchen worktop. The hooks must brace firmly against the underside of the furniture board to stop the bowl from moving. If the worktop is very thin, place small pieces of hard plastic or wood beneath the clips to close the gap and provide a strong, secure grip.
Installing the siphon and connecting the water supply
A flat Space Saving siphon frees up a considerable amount of space beneath the sink by moving the waste pipes close to the cabinet wall. Assemble the individual pipes by screwing them together, always inserting the narrower side of the rubber seals towards the joint. Push the assembled system into the main waste connection in the wall, ensuring that it has the correct fall and that the seal is seated tightly.
To install the Kitchen mixer, pass it through the opening cut in the sink and secure it firmly from below with the large clamping nut. Choosing a heavy Brass fitting provides high resistance to corrosion and durability during frequent pulling and turning of the spout. Screw the flexible Connecting hoses directly into the mixer by hand, then tighten them carefully onto the wall valves with an open-ended spanner so that they are not crushed.
Checking that nothing is dripping is essential before fitting the cover plates and returning the waste bins beneath the sink. After opening the wall valves gently, touch all hose connections with your fingers to make sure that they are dry. To test the Siphon, fill the sink to the brim and pull out the Sink plug suddenly. The large surge of water will immediately reveal any leaks at the plastic threaded joints.
The most common sink installation mistakes
Twisting the water supply hoses tightly around their own axis is a common mistake that can cause them to rupture and flood the entire kitchen. Hoses concealed beneath metal braiding must hang freely in a natural, gentle curve without sharp bends. To stop a hose from turning while it is being attached to the wall, hold it on the other side with your fingers or a second spanner.
Using the cheapest general-purpose construction silicone instead of sanitary silicone quickly results in a cracked seal and harmful mould growth around the sink. Ordinary sealants are too rigid and crumble when a heavy sink vibrates under the force of water or impacts from dishes. Only flexible sanitary silicone containing antifungal agents can move effectively with the sink and retain its neat appearance for years.
Failing to apply wide masking tape before cutting the worktop with a jigsaw will almost certainly cause large chips in the visible laminate. Thick paper tape holds the top layer of the board firmly and prevents pieces of the surface from breaking away under the impact of the blade. It is also worth using a special reverse-tooth blade that cuts on the downstroke, as this presses the decorative layer against the core of the worktop during cutting.


